While conducting a New Scan\Scans, you have the ability to pick your desired Login Profile in order to use it in your upcoming Scan\Scans, it can be found in the “Settings” tab below :

To create a Login Method, follow these steps.
Firstly, go to the “Login Authentication” section on the Main menu :

Automated OTP feature method :
Automated OTP is a powerful tool, a quick and easy way to create timed seamless automated Grey scanning for assets that are protected via user passcode and OTP. The OTP works with both email and SMS messages for a phone number.
Email and Phone settings for OTP:
First you will need to define your phone number and email address
Define an email address:
- Go to Manage -> Server Setting -> scroll to Create Email for OTP
- Press Generate and Email
- You can create more than one email
Define a Mobile number:
- For that you will need to contact CYTRIX’s account managers or support
Using the Automated OTP feature:
- First define a regular user and password login
- Then in the button of the form you can pick SMS/Email or Custom Login
- You can pick one of the phone numbers or email that are defined in your system using the dropdown.
- Last, you will need to pick the right regex/type of OTP that will be received by our system
Login Credentials Configuration
Input: <CSS selector/ID/Name> – this is the basic login information, can be one, two or more. A typical usage is user and password for example.
Submit: <CSS selector> – this is the selector of the login button.
OTP: <CSS selector/ID/Name> (no value) – this is the selector or ID or the OTP field, the field that will be filled with the OTP password.
Submit: <CSS selector> – this is the selector of the login button after the OTP is filled in..Start a new scan with login authentication – link
Headers Authentication method :
Fill up your credentials and headers in these fields :

You can add new headers by clicking on “New Header”.
In a successful response, the new login will be added to the table below.
Self Login method :
The “Self Login” option, allows you to perform the logging Manually, it’s useful in cases where the logging methods are much more complex than usual (such as Captcha and so on) :

For more information, refer to the Self Login page in the support.
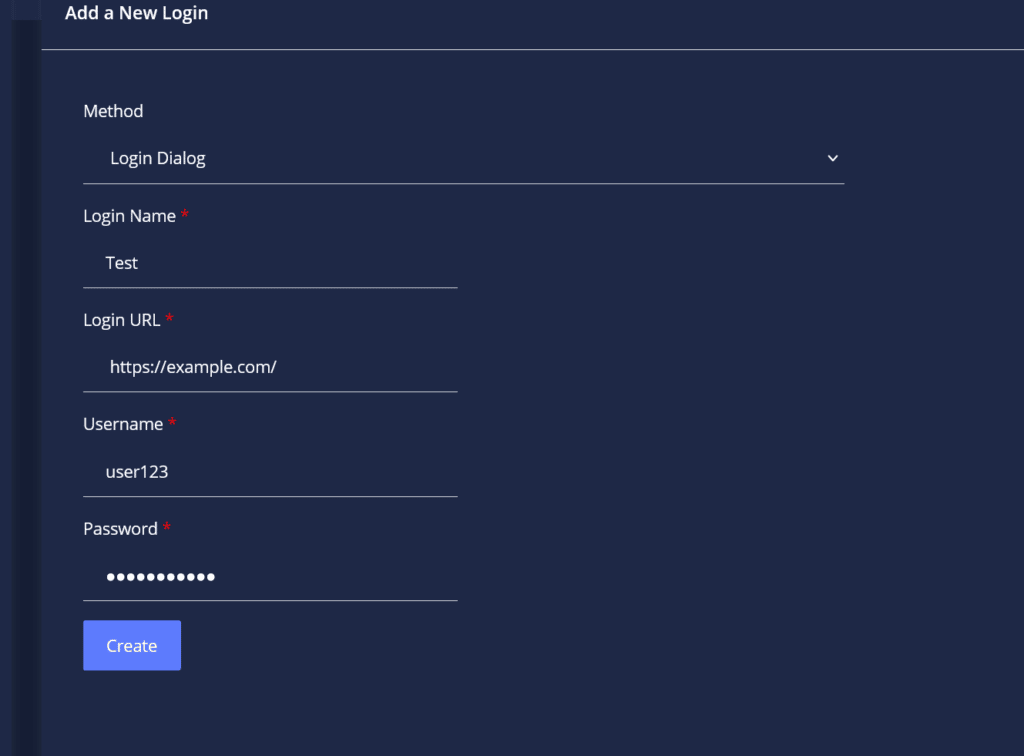
login dialog method :
In cases there’s a need of dialog authentication, fill in the fields :

And of course, the last step, do not forget to add the login profile you just created in the “Settings” tab (New Scan) before initiating a new scan :

